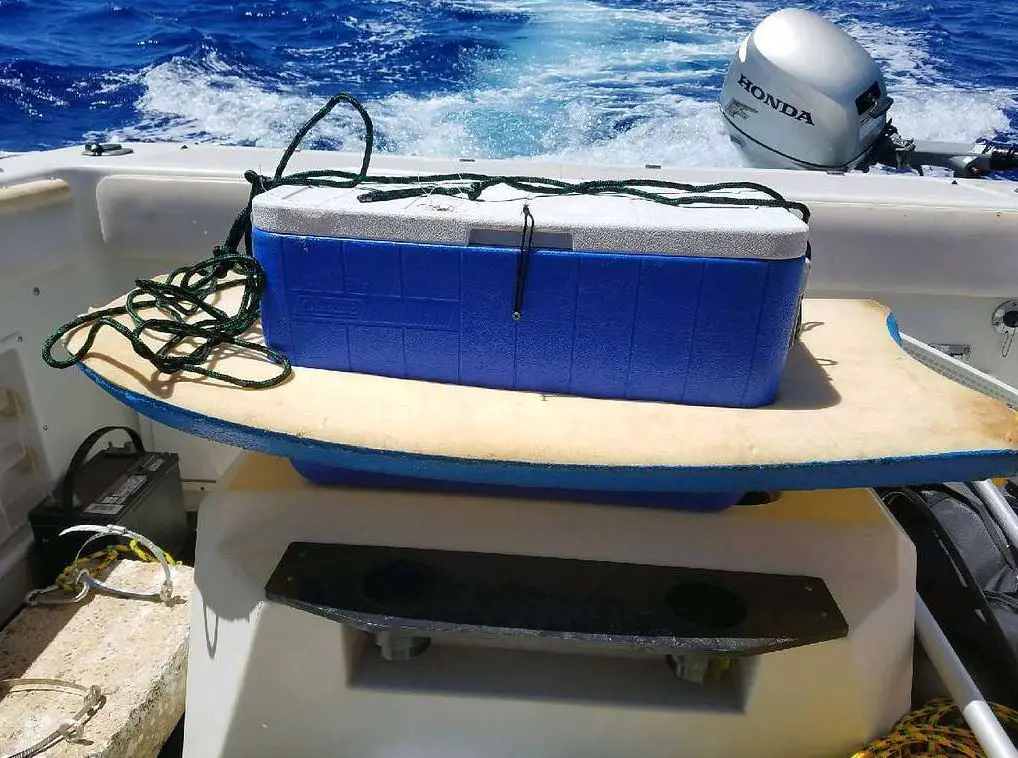
If you’re planning to go on an extended kayak tour, you will need something to keep your beverages and snacks cold. Carrying a kayak cooler is an absolute must for a variety of purposes. Along with keeping your food and drink cold, a kayak allows you to stay on the water longer and makes your fishing experience remarkable. However, some of the nicer, waterproof coolers designed for kayaking can be expensive.
Thus, to avoid overspending, you can make your own DIY kayak cooler. Also, if you are good at working with DIY projects, there will be less hassle.
This comprehensive guide will let you know how to make a kayak cooler at home from buckets, following a step-by-step process. And afterward, if you want to make a cooler bag, I will leave a tutorial video for you.
How To Build a Cooler for Your Kayak
Kayak coolers have become one of the most sought-after accessories, and various options exist. However, not everyone chooses the most expensive ones. Therefore, we have developed a complete procedure for building a DIY cooler for your kayak.
The design is easy to make and super affordable. Moreover, it will assist you to the fullest while you paddle or need to keep your camp food cold until you make it to the shore.
Let’s get the ball rolling!
What Items and Tools Do We Need?
Here is the complete list of the materials that you’ll need to build a kayak cooler:
• Two thin plastic buckets (one large and one slightly smaller)
• Cans of spray foam insulation
• Gloves
• Sharpie (for marking buckets)
• Knife or box cutter
• Acetone or Nail Polish Remover
Step-by-Step Instructions for Making A DIY Kayak Cooler
First, collect all the materials and tools for your cooler build. After that, inspect your kayak to see if there is enough space for the cooler. Measure the space and then get the buckets. Ultimately, the size of the two buckets you choose will depend on the amount of space in the bulkhead compartment of your kayak.
Once you are done deciding the sizes, you are good to go to the next step!
Step 1. Get the Buckets
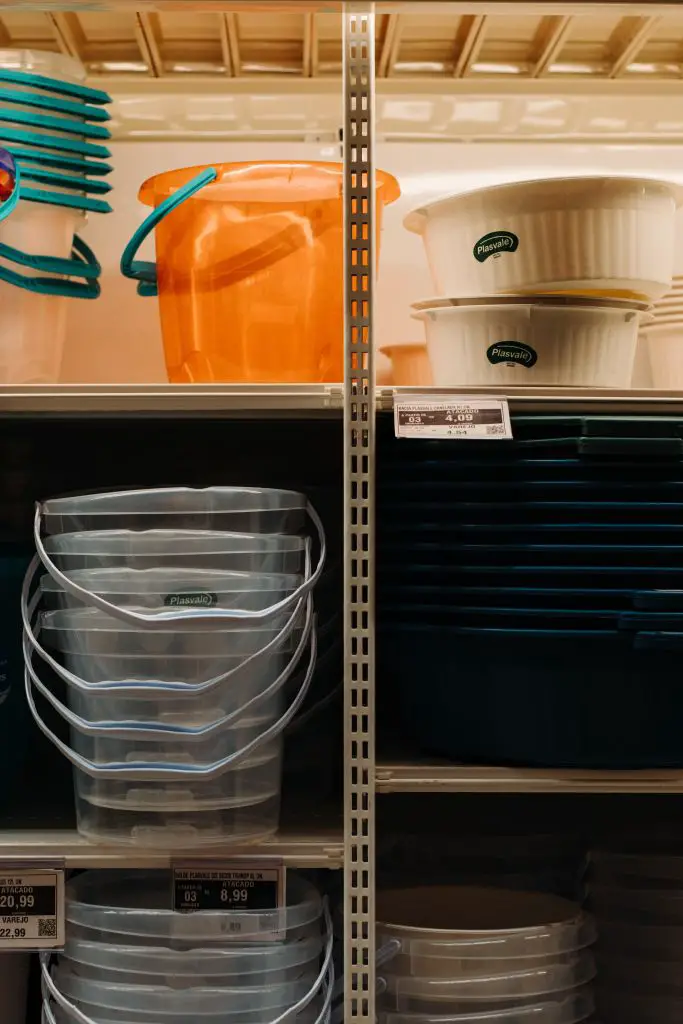
Buy two buckets of different sizes; one should be large, and the other should be slightly smaller. A standard two-gallon bucket measures over eight inches in diameter, while a three-gallon bucket measures almost 10.5 inches in diameter. You can also go to the local grocery store or thrift store to get them if you want to reduce the final price of the cooler.
Besides that, you can buy buckets according to the size of the space left in your kayak. Also, choosing the right buckets depends on how much cooler storage you want. However, remember that the inner or smaller bucket will dictate the final amount of cooler storage space you have for this design.
On the other hand, the difference in diameter between the two bucket sizes will determine how much insulation your kayak cooler will have and, consequently, how many cans of spray foam insulation you need.
Step 2. Wear Your Gloves
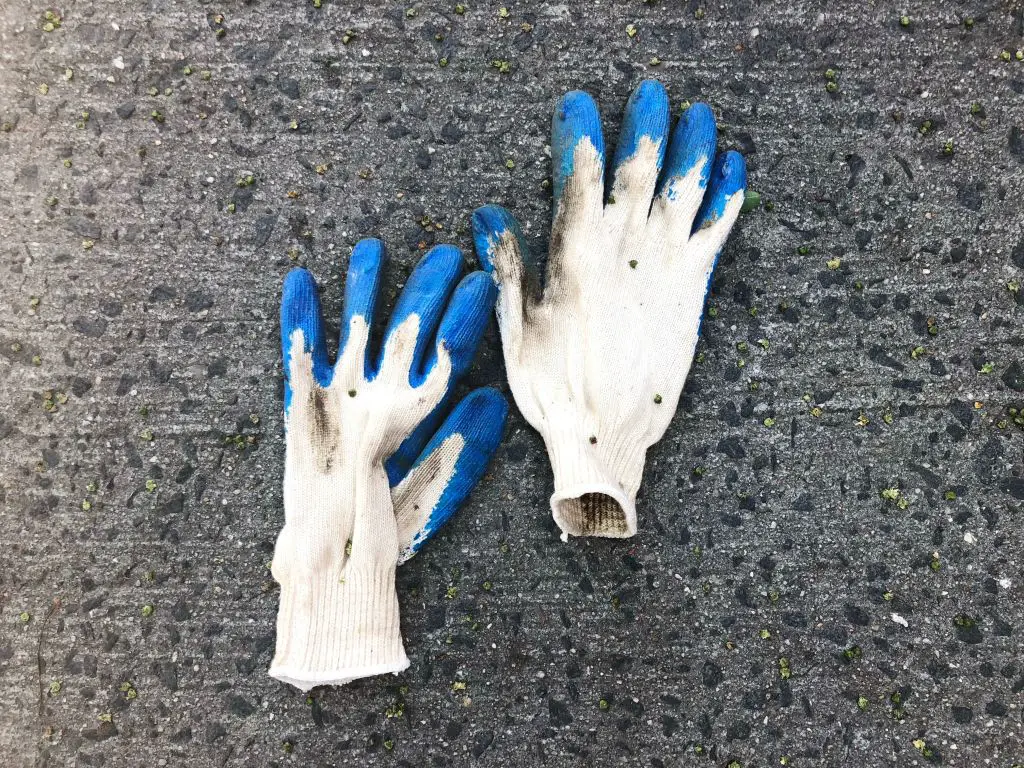
Remember to wear gloves before starting this DIY cooler because the spray foam insulation can be super sticky. Furthermore, getting your hands clean with soap and water will be challenging. However, in other steps, such as measuring the kayak, marking the buckets, or setting them in place, you don’t need gloves.
Make sure you wear gloves before you start shaking and spraying foam so that you’ll have no trouble cleaning yourself up once you’re done.
Step 3. Set the Lid
Before we get into spraying any foam and putting the kayak cooler together, there’s one basic mark that you should create. You can initiate by setting the lid that goes on your larger bucket upside down on the ground and then placing the smaller bucket upside down on top of that lid.
After that, use a sharpie pen to mark a circle around the circumference of the smaller bucket. You should wind up with a circle inside your larger bucket’s lid that you’ll need later. Then you can set your lid aside until we return to it later.
Step 4. Apply Spray Foam
Now take cans of spray foam and apply a thin layer of insulation to the inside bottom of your larger bucket to establish the base. The key here is that the layer of insulation you spray should be thick enough that the inner bucket rises above the rim of your outer bucket once it’s set in place.
Moreover, place your smaller bucket inside the larger bucket and measure the distance from the small bucket’s upper edge to the larger one’s upper edge before spraying any insulation. It will tell you how thick a layer of insulation you can initially spray on the inside bottom of the large bucket. There is a gap of about 1.5 inches for the foam layer.
Now carefully set the smaller bucket in place and ensure it’s evenly distributed and in the center. Now gently press the bucket into the insulation layer at the larger bucket’s bottom.
Also, you can use a measuring tape to ensure that the distance from the smaller bucket’s outside to the larger bucket’s inside is the same all the way around. The measuring step here is optional.
Step 5. Spray the Remainder of the Foam Insulation
The last step is to allow the bottom layer of insulation to cure for about five minutes before you move on to the next step. Now that you have your inner bucket in place, it’s time to empty your cans of spray foam to insulate the space between the small and large buckets.
Remember that the spray foam will expand as you apply it. This is the natural way this substance fills in all the cracks and provides an even layer of insulation for your DIY kayak cooler.
Hence, it’s a great idea to fill up the space around the sides of the inner bucket about halfway and then let the foam expand for about 30 seconds.
Then, continue filling the space the rest of the way until the foam reaches the same level as the upper edge of the larger bucket.
Step 6. Cut Away Extra Spray Foam
You must use a towel or microfiber cloth to wipe away any excess that begins pouring over the rim of the larger bucket if the spray foam is still in its liquid state. However, once that spray foam dries and hardens, you can cut away the extra spray foam with a knife or box cutter.
On the other hand, having drips of spray foam running down the outside of the larger bucket can be a downside for this DIY cooler. Therefore, it is good to wipe away any liquid excess from the surfaces with the help of acetone or nail polish remover. Use whatever suits the condition.
Step 7. Get the Lid
Now pick up the lid and apply a layer of spray foam inside that circle you marked before. Keep in mind that the inside edge of that sharpie line corresponds to the outer edge of your smaller bucket.
Ultimately, you aim to create an inner layer of insulation that fits into the inner bucket when you keep the lid in place. Thus, you will apply this insulation inside that sharpie line and allow a little room to expand.
From here, give this DIY cooler 8–10 minutes to get dry and cure thoroughly. Your DIY kayak cooler is now complete and ready to be stored in the kayak. However, this kayak cooler is only perfect for daytime trips.
On hot days, an insulated cooler is a must-have when traveling in a kayak. The kayak cooler can make your kayaking experience more pleasant by providing perfect storage for fresh catches. Also, a cooler can do the job if you are hoping to crack open an ice-cold beer while paddling.
Getting a new brand of kayak cooler can cost you a lot of money. Therefore, we worked hard and provided a massive guide on making a kayak cooler at home with minimum expenditure. I hope that our step-by-step instructions are easy to understand and helpful.
How To Make a Kayak Cooler Bag
If you have successfully made a DIY kayak cooler, creating a custom cooler bag will be a manageable task. Thus, I have provided detailed instructions so that you can learn how to make a fish cooler bag for your trips on a kayak. Moreover, I will leave a tutorial video for your ease.
Let’s dive into the steps for building a kayak bag. But before this, have a look at the list of supplies needed!
List of Supplies
Guidelines for Making a Kayak Cooler Bag
The measurements of the cooler bag design vary depending on the space available in your kayak. Therefore, in this outline, the measurements or dimensions are individual, and everyone can create them according to their desired size.
For this design, as an example, in the video, they used white paper and considered it a sunshade. On the white paper, a structure was made using the correct measurements.
The custom fish bag is made with accordion sunshades. The lid was a second piece, and the main piece was one sunshade. Moreover, the straps or handles are made from gorilla tape folded from both sides into themselves. At the same time, the clips are folded on top of each other and placed on the sides. You can also use velcro tape to close the bag easily.
You can see the structure in the video. Also, the sunshade must be cut and folded exactly as it is shown on the white sheet in this clip. And all parts of the sunshade must also be fixed with gorilla tape.
Conclusion
If you’re a kayaker and love to explore nature, you must look for things that can make your journey memorable and hassle-free. A cooler and a fish kayak bag are essential items whether you’re going on a long trip or just spending a few hours fishing.
Hence, I helped you learn how to make a DIY kayak cooler and a custom cooler bag. These DIY projects can prevent you from overspending on branded products. Along with that, they are easy to make and quite affordable. If you like to repair and build with your own hands then I recommend you read the article below about how you can repair scratches on your kayak.
I hope that the guidelines are useful to you!