Everyone may be responsible for scratching their kayaks. Scratches on your kayak can hurt performance and appearance, mainly if caused by an accident or a sudden change in the water flow. There are several methods for kayak scratch repair. It is critical to understand how deep and wide the scratch is, as well as its location.
It is also possible that the surface that has been scratched has been chipped or damaged. In such circumstances, you would have to fix dents and scratches on your kayak. If the scratches are small enough that they do not penetrate the color coat’s outer layer, you may be able to sand them away with a fine-grit sandpaper.
Being a kayak lover, you have undoubtedly put much effort and money into your craft. The last place you want it to end up is at the bottom of a lake because you let it lie unattended.
Fortunately, there are solutions you can use for repairing watercraft scratches and dents that will keep you moving forward.
The first thing is: what is your kayak made of?
These days, kayaks can be crafted from a wide variety of materials. The hulls of a kayak can be made of wood, plastic, rotomolded plastic, or anything else. Some of these materials are easier to repair scratches on than others, and for each material different repair methods are used.
So, you really need to know what material your kayak is made of. You can find out just by contacting the manufacturer. I also recommend that you contact the manufacturer to ensure that your kayak is made of the material that you believe it is. In addition, some manufacturers already have instructions on how to fix the kayak.
And so, next, I will answer the question of how to repair scratches on a kayak.
How to repair scratches on a kayak by yourself
Most of the kayaks are made of plastic, which is also called polyethylene (HDPE). Because of this material, they are extremely flexible and durable.
So in this article, I will write about how to repair scratches on a plastic kayak. The process I describe in the following is more suitable for fixing small or deep scratches. Also, after you learn how to fix small scratches, I’ll explain how to repair longer and deeper scratches.
Important note: You must be sure that your kayak is made of polyethylene; if it is made of another material, such as polypropylene, you can damage your kayak by heating it with a propane torch.
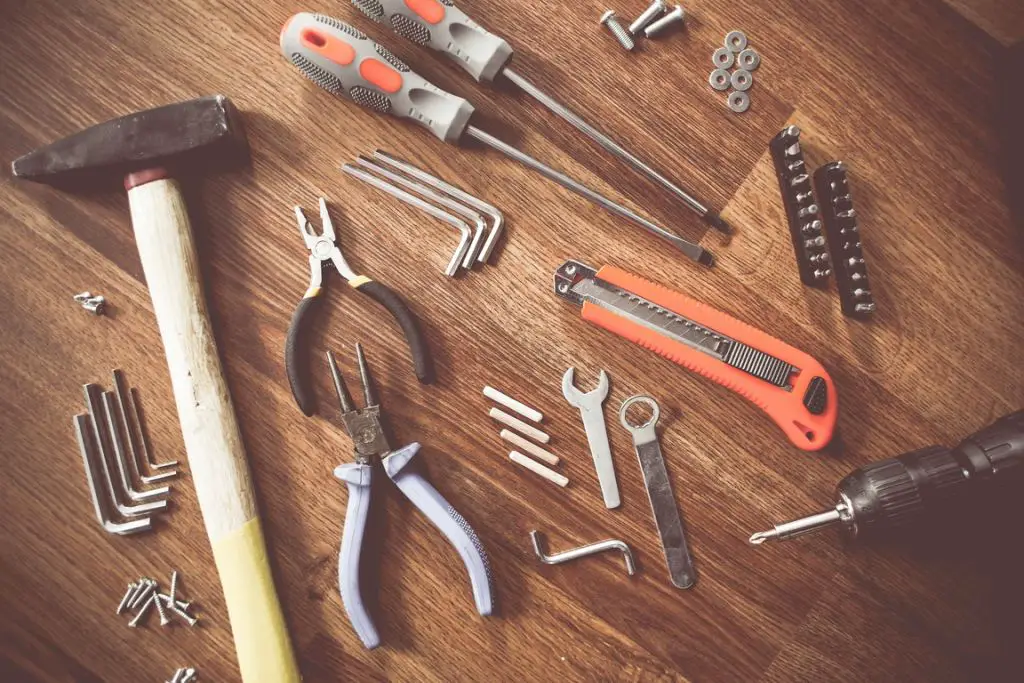
What tools and items will we need?
- Sandpaper (180–220 grit): sandpaper is relatively inexpensive and can be bought at most hardware and auto parts stores. We will use sandpaper to make the specific area smoother.
- Propane torch: We will use a propane torch to heat up and melt a little plastic. A good-quality heat gun can also be used; with a heat gun, the temperature is easier to control.
- Cleaning supplies: before repairing the scratches, we need to wash the kayak of all other dirt. So you may need a wire brush, dish soap, or car wax, as well as a vacuum cleaner, which can be used to clean the area and remove the dirt.
- 303 Protectant: We will use this protection to protect the kayak from ultraviolet rays. It will also help prevent the surface of our kayak from fading and cracking.
- We’ll also need a clean spoon and a glass of water to wet it.
Simple step-by-step instructions for kayak scratch repair
- Before attempting this repair method, thoroughly clean the area with soap and water or another cleaning solution to remove any dust or debris that may contaminate your kayak.
- Warm the scratched area very carefully using a propane torch or heat gun. The scratches are easier to handle because of the heat. Holding them still for a moment can cause the plastic to melt or distort, so take care. For optimal heat dispersion, the cannon must be continuously in motion.
- After the plastic has warmed up, soak the spoon in water so it does not stick to the plastic.
- Afterwards, using a wet spoon, start repairing the scratches to get your kayak back into shape. The easiest thing to do is just press the scratch with a spoon; that way it will close. And remember to soak the spoon in water often to keep it cool and keep it from sticking to the plastic.
- After you’re done repairing, you can use sandpaper to make the places where there were scratches much smoother.
- And the last step is to treat your kayak with 303 protectant.
That’s how to repair a scratch on a kayak. Also, you can watch a video below where you can see clearly how to fix scratches with this method.
How to repair deep scratches on a kayak
The usefulness of your kayak is equally as vital as its appearance. A kayak with deep scratches can be easily fixed so that it looks good and works well. Below are the materials required to repair deep scratches.
We will need:
- Сleaning supplies.
- Plastic welder: we need it to fill the melted plastic into the deep scratch. It is important that you have a boot tip.

Step-by-step instructions for repairing deep kayak scratches
- As before, the first step is to wash any remaining dirt from your kayak.
- After, apply a layer of 180–220 grit or higher sandpaper on all sides of your kayak’s scratch. Remember to put the sandpaper in the grooves of your kayak. We must smooth the area by removing the sharp areas of the scratch. Do this carefully so as not to rub off too much plastic.
- After you have completed step two, you will need to wash the area again to get rid of any plastic left in it.
- At this stage, you will need a welder, with a boot tip. Heat it up, and insert the plastic rod into it. When the plastic starts to melt, start to move the welder slowly over the scratch, filling it with plastic. After you fill the entire scratch with plastic, let it dry and harden.
- After the plastic has hardened, take the sandpaper again and sand the whole area to get rid of irregularities and make the place smooth.
- And the last step is to treat the entire surface of the kayak with 303 protectant.
That’s how to repair a deep scratch on a kayak. Also below, you can watch a video of Steve maintaining his kayak after the season and using a plastic welder to repair deep scratches.
How to avoid scratching your kayak in the future
Below, I’ll give you some tips on how to prevent scratches on your kayak.
More often than not, the kayak gets scratched during transport. The roof of a car or being dragged along the seashore are just two examples of the countless objects that kayaks get hit with while being transported. Remember this when loading, unloading, hauling, and parking your kayak on rocky coasts, sandy beaches, and launch ramps. This reduces the possibility of tiny dents and scratches.
Additionally, in the off-season, store your kayak correctly by preventing exposure to the weather, temperature, and mechanical damage.
Also, to prevent scratching the kayak in the future, avoid submerged tree roots or rocks that protrude from the water’s surface. Don does not venture out on waves that are too rough to stand on securely. Know when a storm is coming and try to get off the water before it arrives. Avoid going so deep and being in the water at night.
So here’s how you can prevent scratches.
Before you go…
Now that you know how to repair scratches on your kayak, and if you like doing things with your own hands and doing things yourself, then I recommend you read the article below on how to make your kayak seat more comfortable. There, you can find DIY methods.
How to make kayak seat more comfortable using 6 effective methods.