So, you want to paint your kayak. Great! There are a few good reasons to paint your kayak.
It could be sprucing up your kayak, adapting it for another purpose, or customizing it with a camouflage paint. I have the techniques, precautions, tips, and tools to know how to paint a kayak properly.
Painting your kayak should be seen as a necessary form of care for your boat and will be compulsory at some point in its life.
By now you must have guessed that it’s possible, very common, and very necessary, but I’m sure you don’t realize that it can be fun. Now let’s dive into how to paint a kayak.
First, it is important to prepare your kayak for a new paint job and select the right paint to avoid peeling and chipping.
I will guide you in selecting the right paint and the right technique to get a new looking kayak.
Choosing The Right Paint
To get a successful DIY kayak paint job done, you will need to choose the right type of paint. There are lots of paints out there, and the best one for your kayak depends on the material of your vessel.
The key to whatever paint you choose is that it should be water-resistant and stick to the hull’s surface.
Now, let’s look at the most common types of materials for kayaks.
For your plastic, wood, carbon fiber, fiberglass, or composite kayaks, the best paint can either be oil or water based.
However, you should use an epoxy primer before applying paint. Epoxy is neither oil nor water based but a chemical reaction that bonds after a mixture, like glue.
Epoxy sticks to materials like composites, wood, plastic, etc. better than acrylic or oil based paint.
To Use Water Or Oil-Based Paints?
However, water-based paint would be preferred for exterior use, even though oil-based paints seem like a good choice for water activities.
This is due to its UV radiation protection and flexibility. Water-based paints can also reduce cracking during harsh weather conditions.
Marine-Grade Or Not
The other aspect of paints you will need to consider to paint a kayak is whether they are marine-grade or not. Marine-grade paints have properties that protect water vessels longer than other exterior paints.
For example, they can have compounds to prevent barnacles and mold from forming on your vessel. Generally, they are recommended over regular paints, but keep in mind they are pricier too.
One way to go is to use regular exterior paint, then finish with marine-grade wax if cost is an issue. Otherwise, go for the marine-grade paint.
Paintbrush Or Spray Paint?
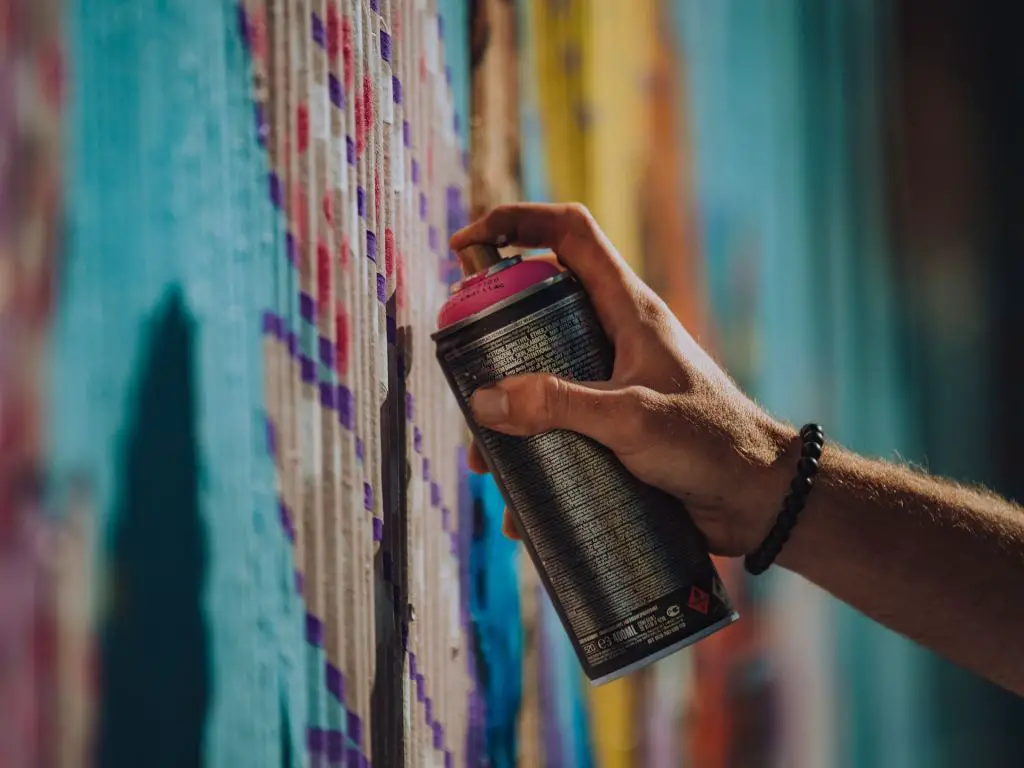
The technique of painting is another important area other than the paint itself. A paintbrush, spray paint, or rollers are your choices for your new paint job.
A paintbrush has the advantage of being useful for intricate designs and patterns, but painting with it can take a long time to cover a surface compared to spray painting, which requires greater skill.
A roller can cover a larger surface area faster than a brush can. However, it falls short when it comes to precision. Using a brush may afford more precision and control.
Meanwhile, spray paint can create the most even coats in a short amount of time compared to the other two.
If you have the expertise to use spray paint, it may be the best solution for applying consistent coats. A certain amount of skill is needed, as spray paint can be untidy and “unpredictable” at times.
But it can consume a lot of paint and result in a sloppy paint job. It is important to be in a well-ventilated area to complete a spray paint job. Also, you should cover anything you don’t want to be covered in paint.
Reasons To Paint A Kayak
The most popular reason for painting your kayak is customization; maintenance comes in a close second, as does enhancing or converting the use of the vessel.
Of course, decoration for the purpose of personal identity can be fun, and it is recommended that you put your personal stamp on it to enjoy your adventures.
Wear And Tear
During the lifetime of your kayak, it will sustain a lot of minor damage, from storage to transportation and even paddling in the water.
Hitting rocks, launching, and retrieving the vessel on shore will leave marks and scratches that can become a problem over time.
Therefore, a simple paint job can go a long way toward preserving the integrity of your kayak.
UV Damage
UV damage is quite common, and it comes from direct sunlight. Damage occurs from transporting your kayak on the roof of your vehicle.
Although the exposure is limited, over time it will cause enough damage.
Therefore, touch ups of paint and protective marine wax can help to spruce up the hull’s surface as well as make it more resistant to future fading.
Repurposing
In the life of a paddler, you will most likely have bought a recreational kayak as your first kayak. After all, most, if not all, experts recommend this.
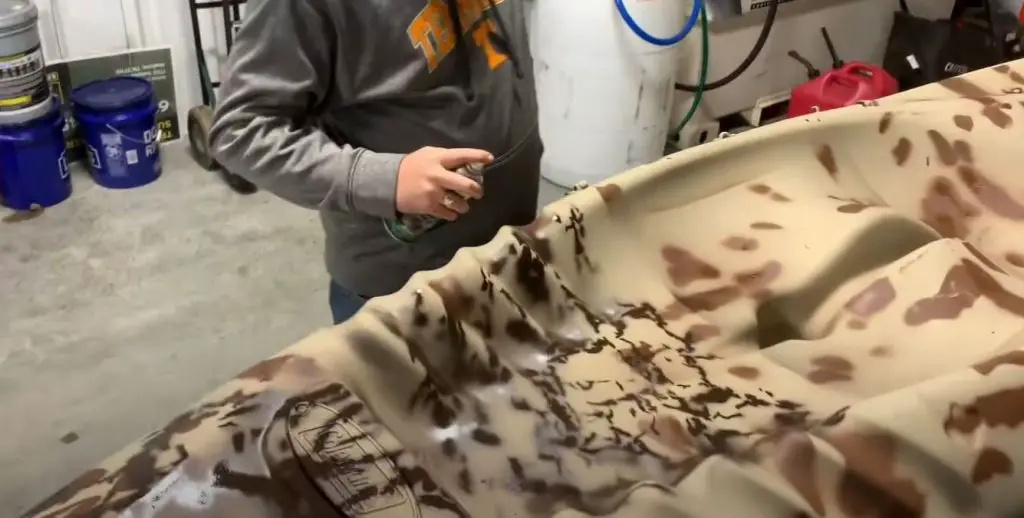
Converting a brightly colored recreational kayak to a darker camouflage paint can be a way of extending the life of the kayak and saving money on buying a new one.
This will especially come in handy when this is a guest kayak or training kayak for a child or loved one.
Personalization
Just like cars, you can put a personal touch on your vessel to have a stronger connection. I have done this with other objects.
The beauty is that there is no limit to what you can do. For example you can make a camouflage paint. Let your imagination run wild with nautical themes or anything that catches your attention.
Tools And Materials You’ll Need
Now, let’s get a comprehensive list of the necessary tools, supplies, and safety equipment for your paint job. I will arrange the items by their function.
Cleaning
These will be required for cleaning and preparing the kayak’s surface. Also, they will be needed to remove excess paint and clean up spills or drips.
- Acetone
- Clean rags and clothes
- Dishwashing liquid or boat cleaner
- Running water with a water hose
- Sandpaper
Protection
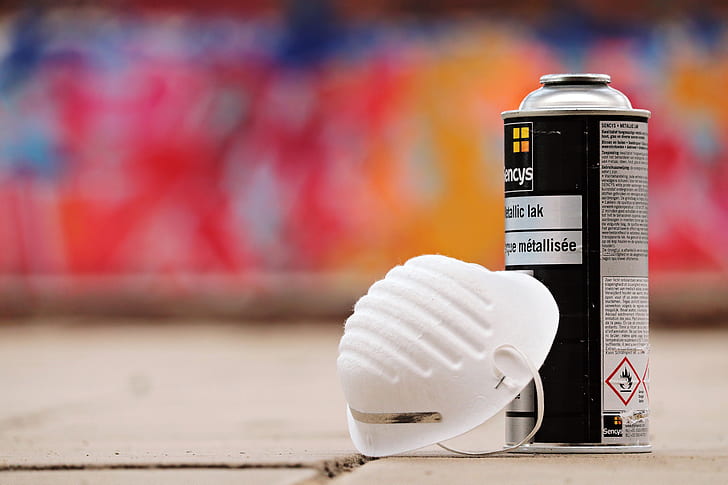
You will need personal protective equipment (PPE) to complete the paint job successfully because some paints and solvents can be toxic. You don’t want these substances in your eyes, nose, or mouth.
Also, you will need to prepare the area to prevent environmental damage. An interior room dedicated to painting is the best location.
- A mask for painting
- A pair of gloves for protection
- Canvas or plastic sheets
Painting Tools
Like we discussed earlier, to paint a kayak you will need to choose your preferred tool based on your budget and desired results.
- Foam paint rollers
- Or paint brushes
- Or spray paint
- Or a spray gun
Painting Supplies And Treatment
To paint a kayak, you will need to decide what paint is best for the long term and your budget. You will also need to treat the paint to protect it from the elements.
- Marine-grade paint
- Primer (epoxy)
- Or exterior paint (budget friendly)
- Marine-safe clear wax or spray paint is recommended
A Step-By-Step Guide On How To Paint A Kayak
Step 1: Prep The Area For Your Paint Job
To start your paint job, you have to select a well-ventilated, dust- and debris-free location and place your kayak on a tarp.
Preferably, use a dedicated facility; if not, make sure all windows are open and a ventilation fan is turned on when painting in a confined space.
Step 2: Take Everything Off The Kayak
Take everything off the kayak to its bare shell, removing the seat, foot braces, rod holders, accessories, mounting hardware, and anything else you don’t want to paint.
Also, tape off any items mounted on the kayak that cannot be removed, such as toggle handles, shock cords, straps, or other accessories.
Step 3: Clean The Kayak And Sand It Down
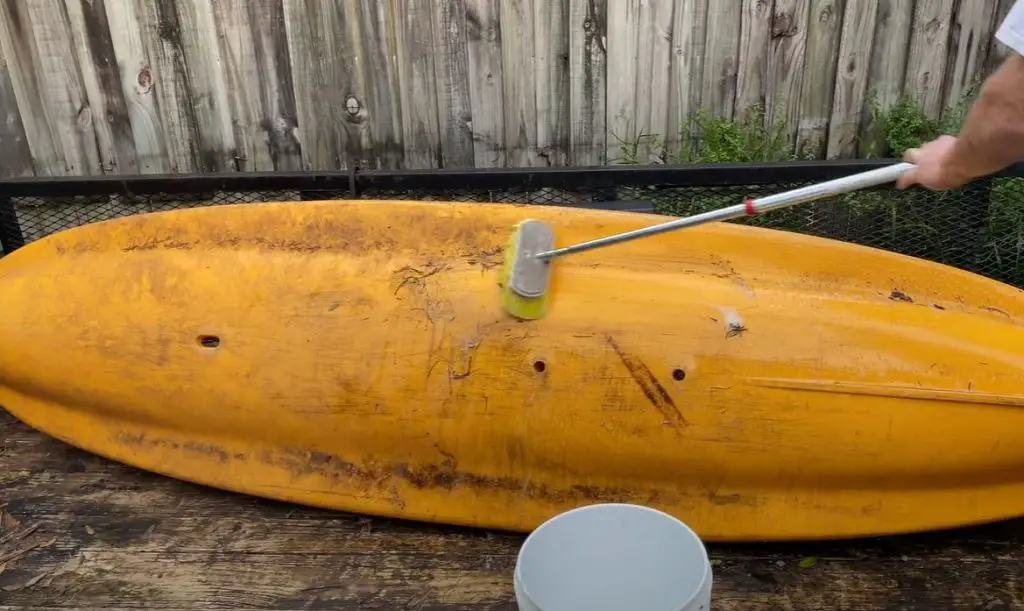
Remove any dust particles, grime buildup, etc. by washing the kayak. Debris or pollutants can interfere with the paint by clinging to the surface.
The washing solution should be a mix of water and dish soap. Remove any gear decals and fix any dents or cracks in the hull.
While waiting for the kayak to dry, check the hull for uneven surfaces and severe scratches and smooth them out with medium or fine-grit sandpaper.
This will help the paint adhere better to the hull. Each type of kayak material requires different levels of sanding to make it smooth. Follow the guidelines for each.
Step 4: Wipe It Clean And Dry
After sanding, it is important to clean the entire kayak again with acetone to remove any lingering oils that can prevent paint from sticking. Wipe off the previously sanded surfaces with acetone and a clean towel.
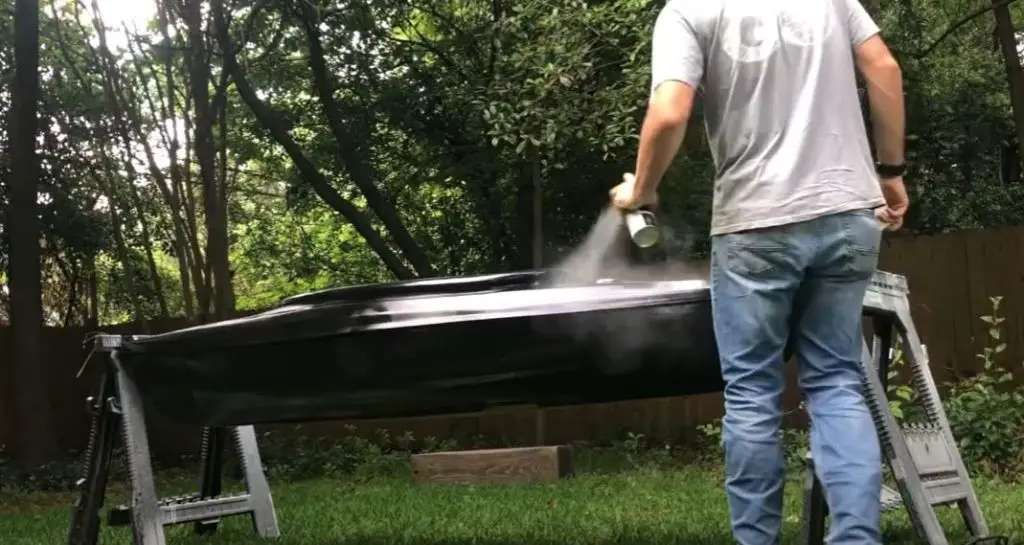
Step 5: Painting Time
Put on your PPE, a mask (with goggles), gloves, and overalls (or spare clothes). Tape over and protect areas of the kayak you don’t want painted.
Take your selected paint, spray paint, or paintbrush and apply the paint in thin, even layers. Then allow it to dry properly between coats. Follow the paint manufacturer’s guidelines; most likely, you will need at least two coats.
It is important to allow the paint to cure before applying a second coat and also before proceeding to the next step.
Step 5: Apply The Clear Coat
A clear layer of finishing paint should be applied as the third and final coat of paint on a kayak to protect it from scratches and weather conditions.
Before applying the final coat, the first two layers of paint should be completely dry.
Step 6: Curing
Curing happens when solvents and water evaporate from the painted surface, causing the paint to create a film that hardens the surface.
Step 7: Clean And Wax
After the kayak is painted with two or more coats of clear coating and it’s completely cured, you will need to wipe the entire kayak and clean it with dish soap and water.
You will also need to remove any protective tape you have used to mask off areas on the kayak.
Add marine wax for a finishing touch. You can now reinstall all the hardware and accessories, and that’s it. You have completed your paint job.
Tips For Maintaining The Painted Surface Of Your Kayak
Now that you’ve painted your kayak and completed your paint job, you’ll need to maintain it. It is important that you protect it from the elements.
The first habit that I recommend is to clean your kayak, especially before you store it after a paddling adventure. Wash it thoroughly with dish soap, then wipe it down and allow it to dry properly.
Protect Your Kayak From Direct Sunlight
UV rays from the sun damage objects in general, including kayaks. Make sure to store your kayak in the shade or in a dark room to preserve the brilliance of the hues you have just painted.
It is also highly recommended to use UV-protectant spray, such as 303 Protectant.
Protect Your Kayak From Dust
Dust can be abrasive, especially when it cakes up over time. This can slowly peel the paint off the kayak.
To prevent this, use a covering to keep the dust out, particularly if you have a long time (two weeks) between paddling.
Moisture
Moisture can be a real enemy of kayak materials like plastic, wood, composite, etc. Moisture can harbor insects that can eat away at the soft parts of the kayak, like decklines, etc.
They can attract mold and mildew onto the kayak, which damages the paint and is difficult to get rid of.
Fluctuating Temperatures
Hot temperatures expand materials, while cold temperatures contract them. Separately, they are terrible for the kayak materials and the hull’s paint.
However, when temperatures swing back and forth between hot and cold, they can easily cause the paint to melt, crack, and peel off.
Storing your cleaned and completely dry kayak out of direct sunlight, covering it in a dark but temperature controlled room will allow you to enjoy the kayak and its paint job for as long as possible.
Additionally, you will need to periodically touch up your kayak with paint and a protective marine wax coat. This will allow the nice glossy finish to last as well as protect the material of the kayak’s hull from the elements.
Summary
Painting a kayak can be a fun DIY project and a low-cost method to improve its looks, especially if your kayak is showing signs of wear and tear.
So, we have established that you can and know how to paint a kayak. Through choosing the right paint, the right tools, and following the procedures correctly, you can paint your kayak.
You know the reason for painting your kayak, be it maintenance from UV damage or other wear and tear or a simple camouflage conversion.
But I suggest, for whatever reason, that you also consider a bit of customization on the personal front.
Personalization in the form of painting, as well as naming your kayak, can create an emotional bond between you and an object. In this case, a kayak, which in turn creates a bigger bond with kayaking.